HOW TO MAKE A 3D RIBBON
Hiya, I just wanted to show you a quick and easy way to decorate your gifts or make this a focal point on a card. I think these are so beautiful that they will make any gift make look expensive.
As before I will give you a shopping list and links on where you can purchase the products, I will also review the products I use too, and I will show you how to make this amazing Ribbon.
Shopping List: –
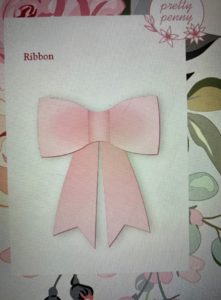
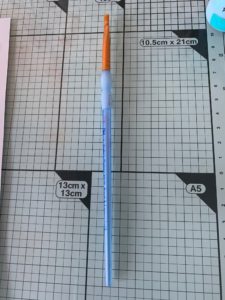
The Pretty Penny Ribbon Die Set doesn’t seem very sturdy to look at however it does cut like a dream time after time and you do get a lot of metal for your money.
This is such a lovely paper to work with and the Cosmic Shimmer Powders do work really well on this paper with the Andy Skinner Super Matt Varnish, this is a great technique with this paper and this paper manipulates into the 3D Ribbon shape perfectly every time..
![]()
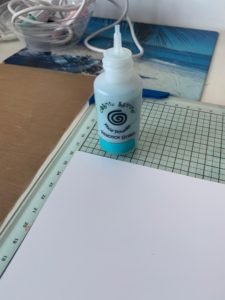
I’m in love with the Cosmic Shimmer Pixie Powders, the saying a little goes a long way, well this saying is definitely true when working with the pixie powders and the colours are lovely, you dependant on the effect you desire you really only need a gentle touch.
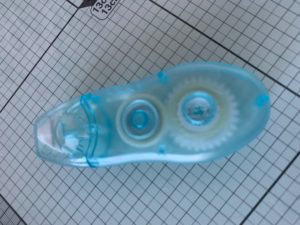
the Tape Runner are an essential for every crafter, however for making the Ribbons they are a necessity as they enable you to construct the Ribbon together quickly, these Taper Runners are well built however when finished they are disposable.

This is the Cut n Boss, this is my favourite Die Cutting Machine I have, I do own a manual one as well as this one, however this is my go to one which is the original one that first came out I would say 10 years or more, can’t really remember the exact date however this is an approximate. This is so good in this time I have only had to replace 2 A plates and 1 B plates this is so hardwearing, and this is my work horse it does get used so much. My machine of choice highly recommended.
The Art Brush I just used a cheap one that I could just use for applying the varnish with, even though cheap they feel quite sturdy to use.
Andy Skinner Super Matt Varnish
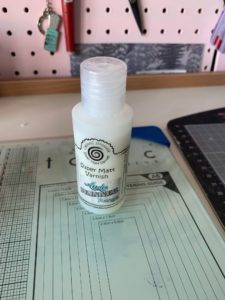
This Andy Skinner Super Matt Varnish is a quite a thin varnish and on a A5 piece of paper or card you need about a 50p drop to spread across the page as it absorbs pretty quick into the paper, once applied it does really fast but I do enjoy working with this product.
3d Ribbon – The Make
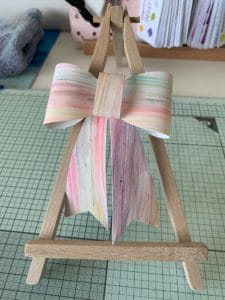
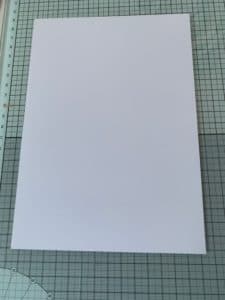
I chose to use the A5 Lumi Glossy paper as it feels light weight, however this is really good to manipulate the Ribbon into its shape after you have achieved the desired pattern or effect you desire, so here is how I did it.
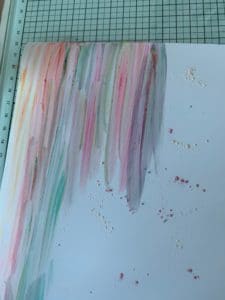
- Firstly I got my paper and took my Peacock Green Pixie Powder and gently shook a little all over the page, I feel you only need a little as a little does go a long way, and I repeated this process with Candy Pink and Straw Yellow.
![]()
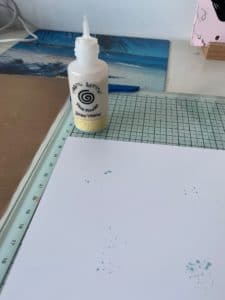
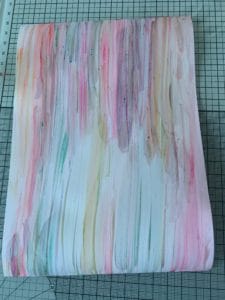
- Then I put some vanish into a pallet then with my brush slowly moved my brush up and down the page to get my desired effect. Keep doing this until this covers the A5 sheet of paper see photos below
- Then I placed the dies onto the paper and secured them down with repositionable tape.
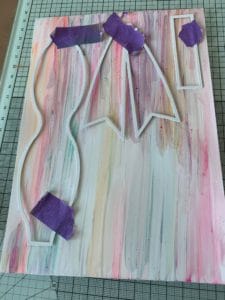
- Then I placed my project on my die cutting machine, I use the Cut n Boss.

- Run this through your die cutting machine, just to let you know this die will go through all in one with machines such as Gemini Junior, Snap and the larger machines such as Cut n Boss, Gemini and the many more that are out there.
- Once it comes off the Die cutting machine take it out off, your paper.
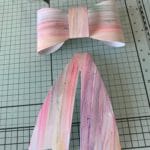
- Just before I start to construct my Ribbon as I make my Ribbon, I shape my pieces to give the Ribbon a fuller shape.
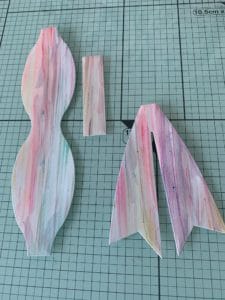
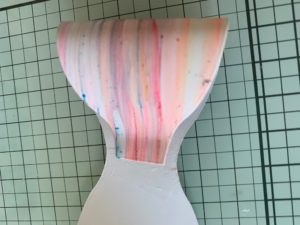
- Take the main part of your Ribbon
 and place tape down the middle of the inside and fold each side and gently attach them to the tape as the photo shows.
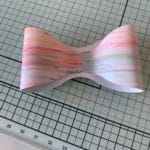
- Then attach the thin straight piece around the middle section and secure with the tape runner.
- Once this is done
 then I attached the tail to the Ribbon
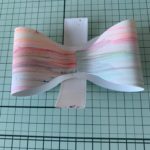
 I attached the tape runner to the back of the Ribbon and secured the tail of the Ribbon.
- As I secure my 3d Ribbons onto gift’s I always add a 3D foam pad at the back of my Ribbons, so they are ready to use when I need them.
These Ribbons are so easy to make, and they look so super classy I absolutely love these, and I am not just saying this this is my honest opinion I do believe this.
So just to summarise if you have anything similar in your stash by all means use what you have if not this gives you everything you need to either recreate or make something very similar or if you don’t have the products and would like make this, gives you a guide as to where you can buy this die set and everything you need, with an honest review of the products used to recreate this lovely project.
Lots of love Belle
I hope you enjoyed my make of a 3D Ribbon, If you would like to see any of my other makes click on the descriptions below